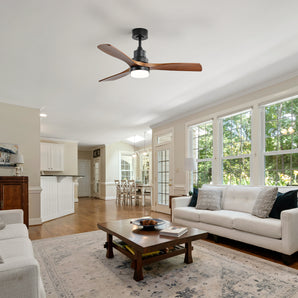
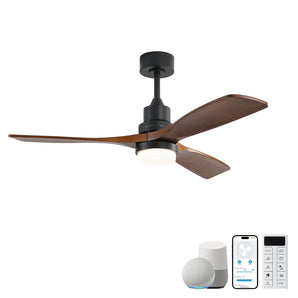
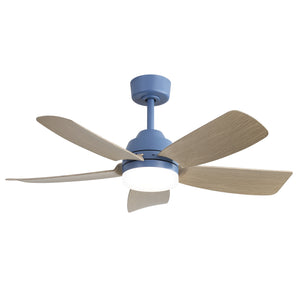
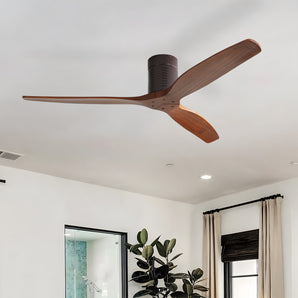
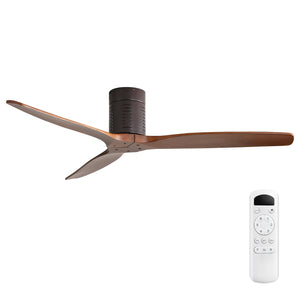
Ceiling fans are a necessary product, the price also is not very expensive, by people like very much, this article will tell you how to replace the ceiling fans?
1. Turn off the power to the ceiling fan by flipping the switch at your circuit breaker box.
2. Take down your existing fan and light fixture from the mounting bracket on the ceiling. Disconnect any wires that are connected to it.
3. Mount your new ceiling fan and light fixture in place of the old one.
4. Connect the wires from your fan and light fixture to the wiring in the ceiling box, using wire nuts to secure the connections. Refer to your owner's manual for specific instructions on how to wire your new fan and light fixture.
5. Put the hanger ball into the bracket and make sure it is securely tightened with a screwdriver.

6. Turn the power back on and test your new fan and light fixture to make sure it is working properly.
7. Hang any additional accessories, such as blades or light shades, onto your fan according to the manufacturer’s instructions.
8. Finally, enjoy your newly installed ceiling fan and light fixture!
Tips: Use proper safety precautions when working with electricity, such as wearing rubber gloves. Also, be sure to consult the manufacturer's instructions for specific wiring diagrams for your particular ceiling fan. Additionally, contact a professional electrician if you are not confident in completing this task yourself.
Remember to test your fan and light fixture before finishing the installation. Make sure it is working properly and that all connections are secure. Finally, enjoy your newly installed ceiling fan and light fixture!


